Configure the main menu on the header of your website which is used to navigate your website
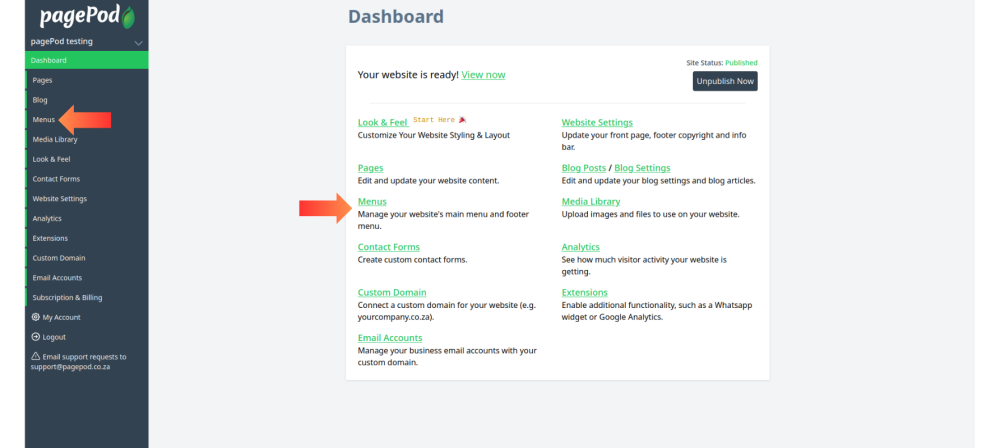
Step 1: Click on Menus
Menus contains settings for the main menu (header) and the footer menu.
You can access it from the dashboard or the sidebar.
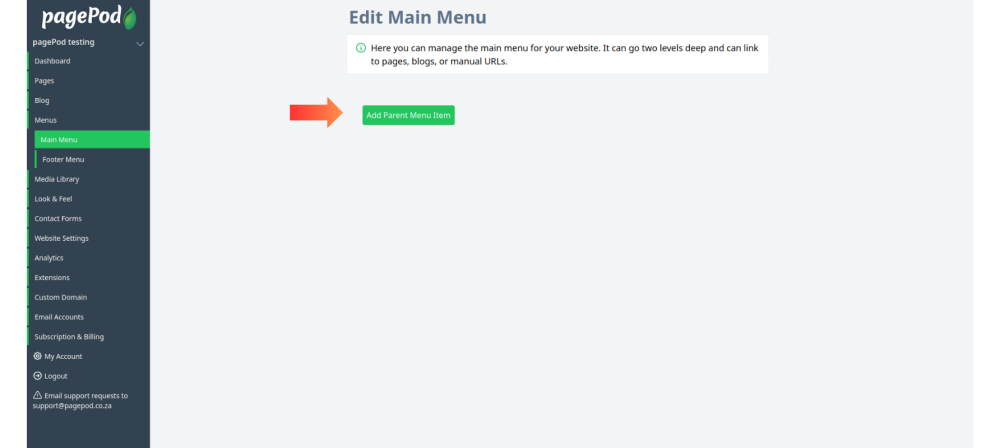
Step 2: Click on add Parent Menu Item
A parent menu item is a main option in a menu, and a sub menu item is a smaller option that appears under it.
Step 3: Fill in the info fields
Fill in the menu title, select the link type and select the page the menu button links to.
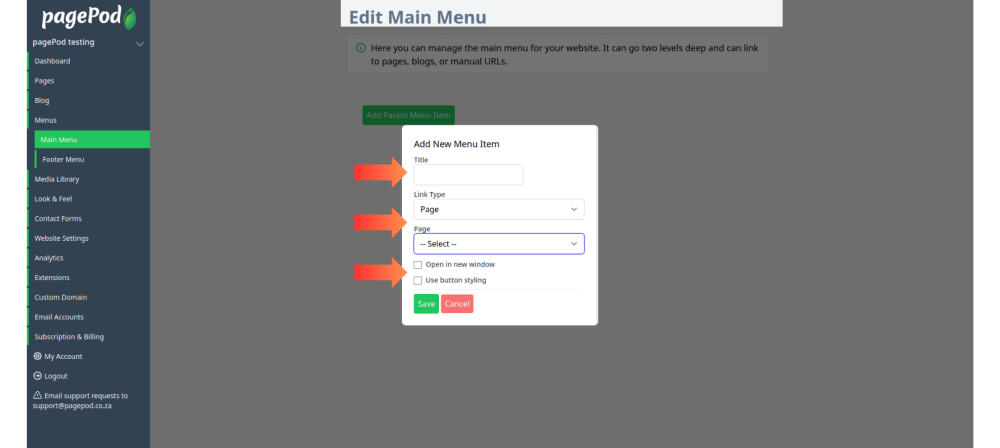
Step 4: Click save when done to add the parent menu item
Save the menu item when done when filling in fields.
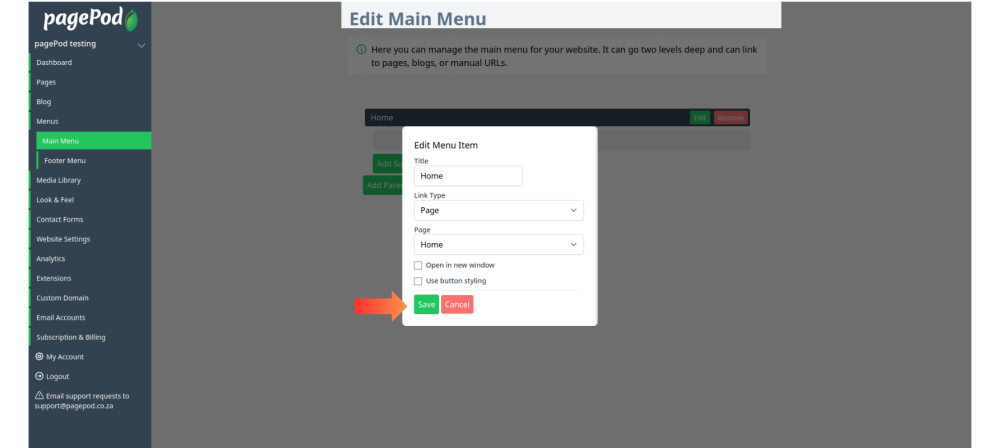
Step 5: The parent menu item will appear
It has options to edit or delete the parent menu item on the parent menu item header.

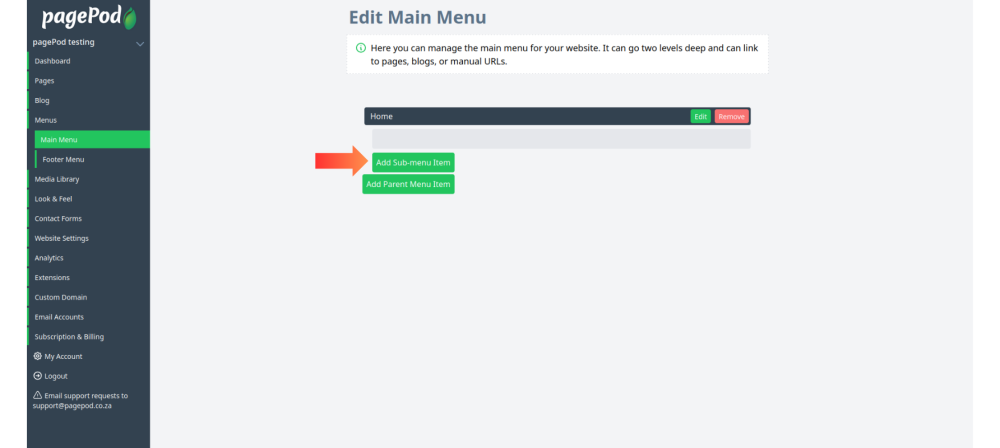
Step 6: Click on Add Sub-menu item
This will add a sub menu item to the parent menu item created in the previous steps.
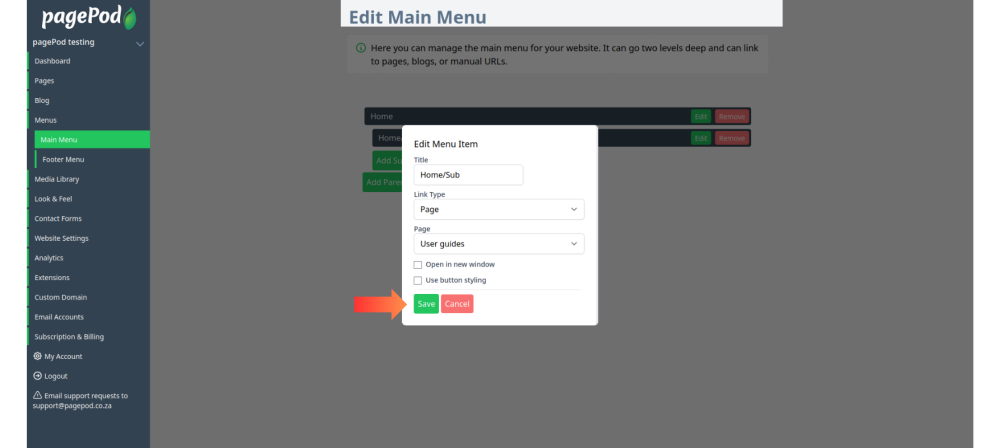
Step 7: Fill in the info fields
Fill in the menu title, select the link type and select the page the menu button links to.

Step 8: Click save when done to add the sub-menu item
Save the menu item when done when filling in fields.
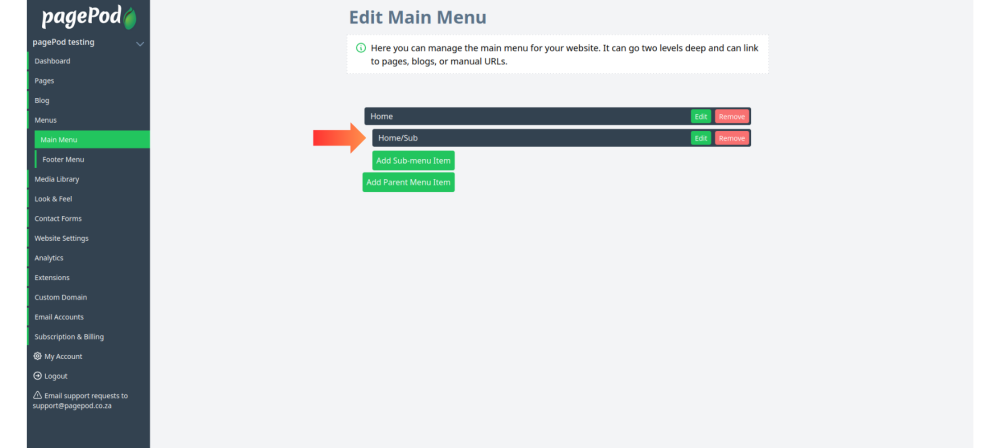
Step 9: The sub menu item will appear underneath the parent menu item
It has options to edit or delete the sub menu item on its header.
When previewing the page you will see the parent menu item you created at the top of the page and the sub menu item will appear when you click on the parent menu item
